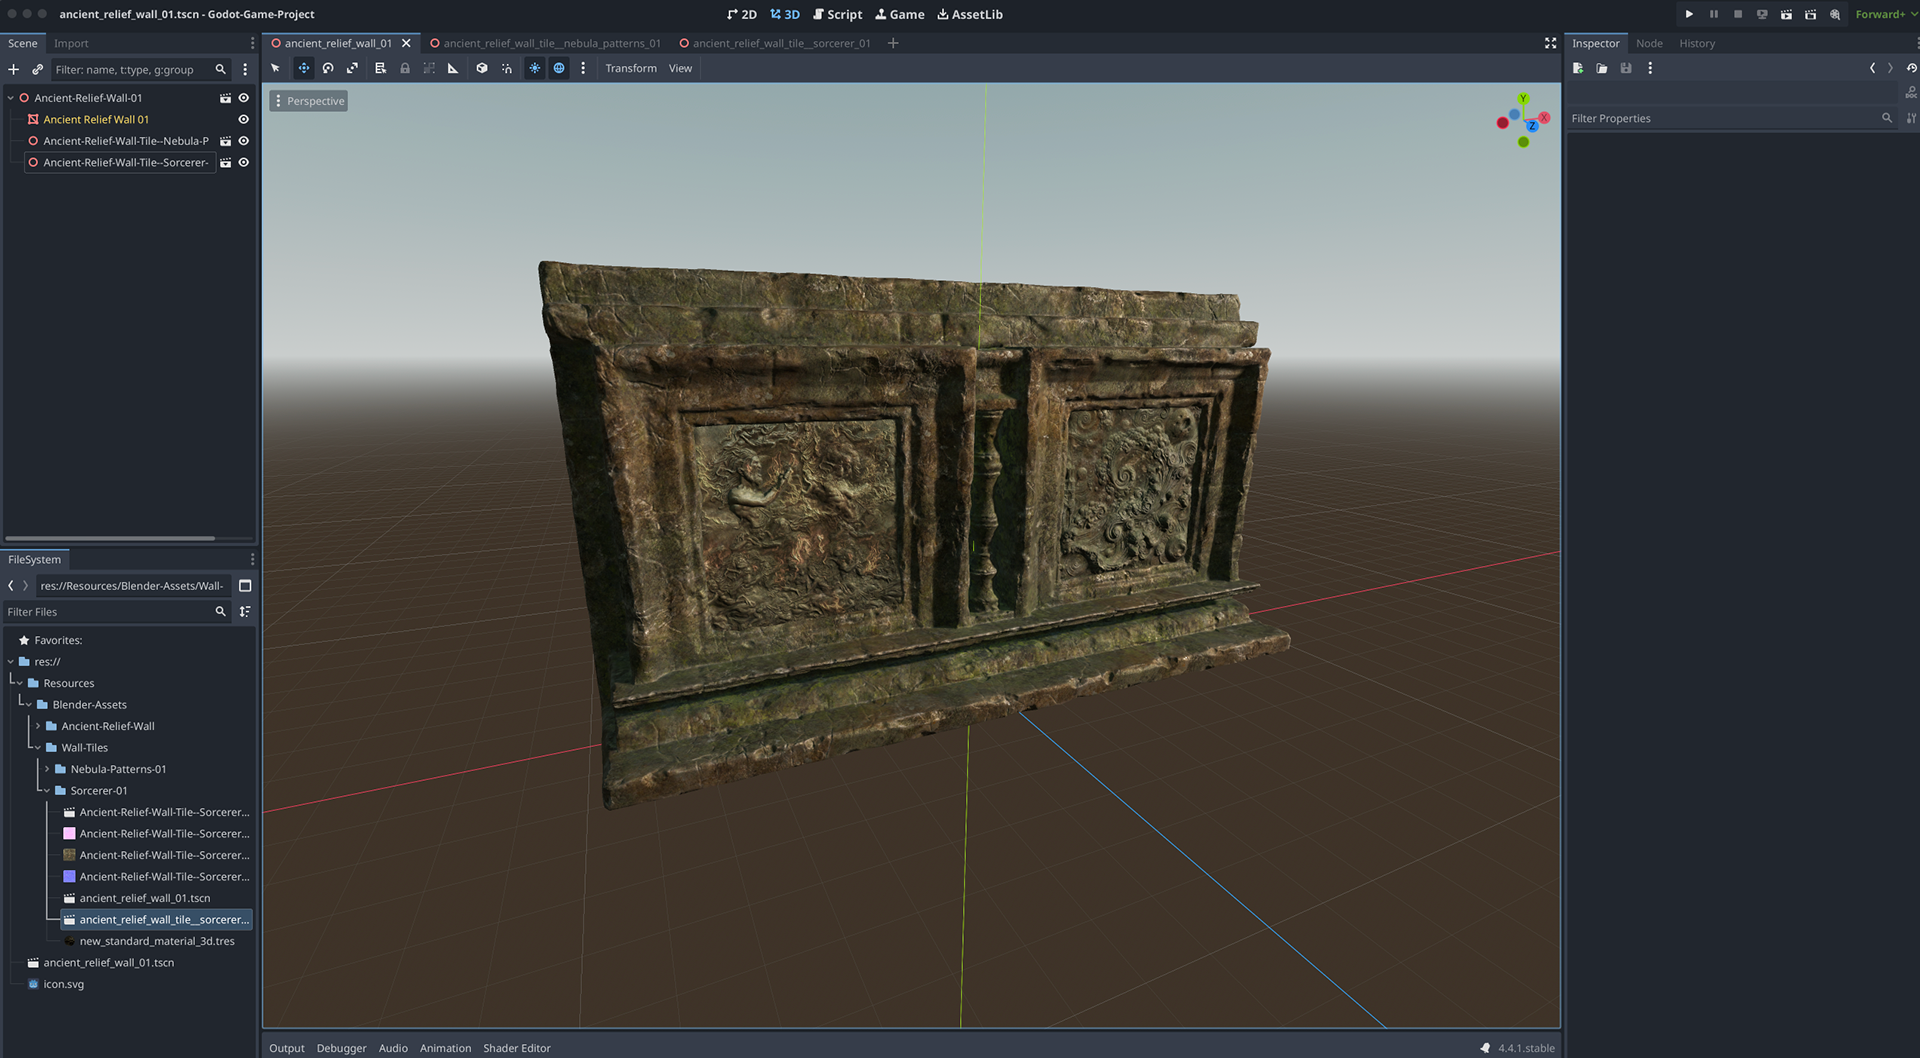
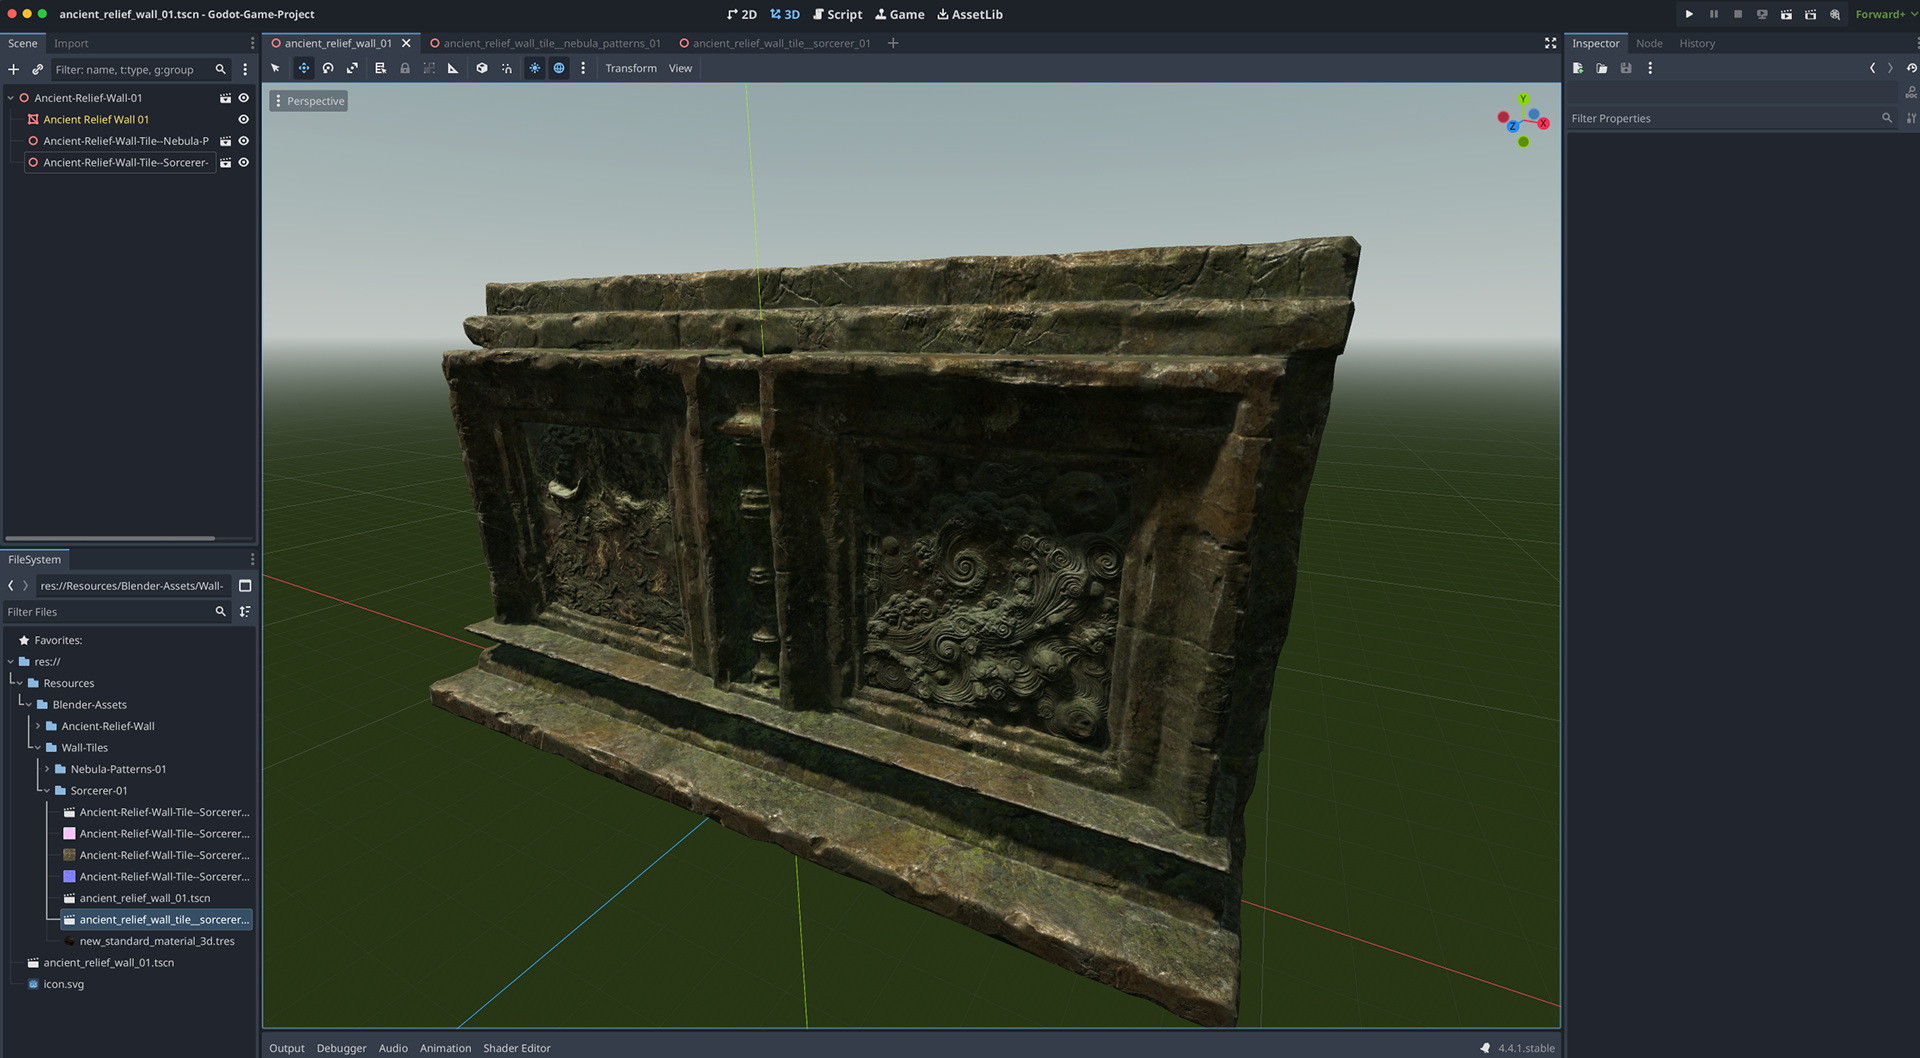
This project covered the full, end-to-end flow of creating an ancient bas relief wall in Blender -- modeling, sculpting, texturing, UV mapping, etc -- and exporting an optimized version to use as a video game asset in Godot 🤖.
Initial Modeling and Remeshing
After modeling the wall out of several different pieces of geometry...
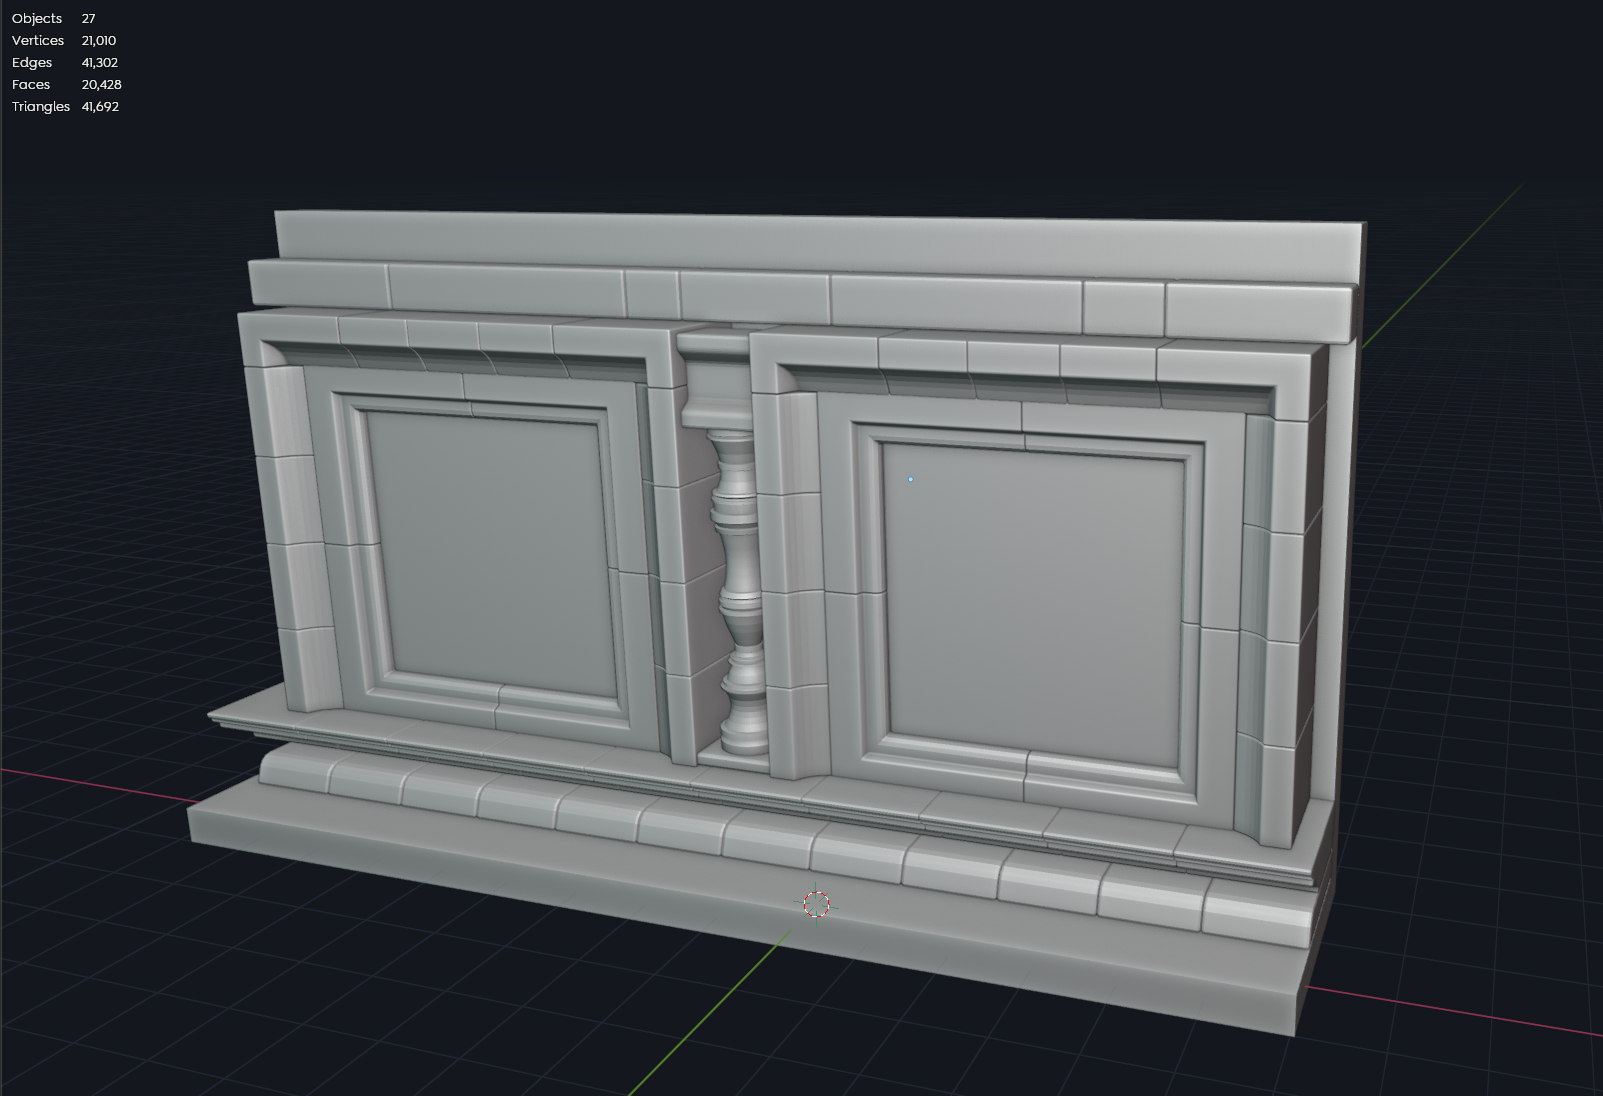
... Joining them all together and remeshing the joined object gets us to an identical-looking-but-super-high-fidelity object that’s ready to be sculpted.

Sculpting

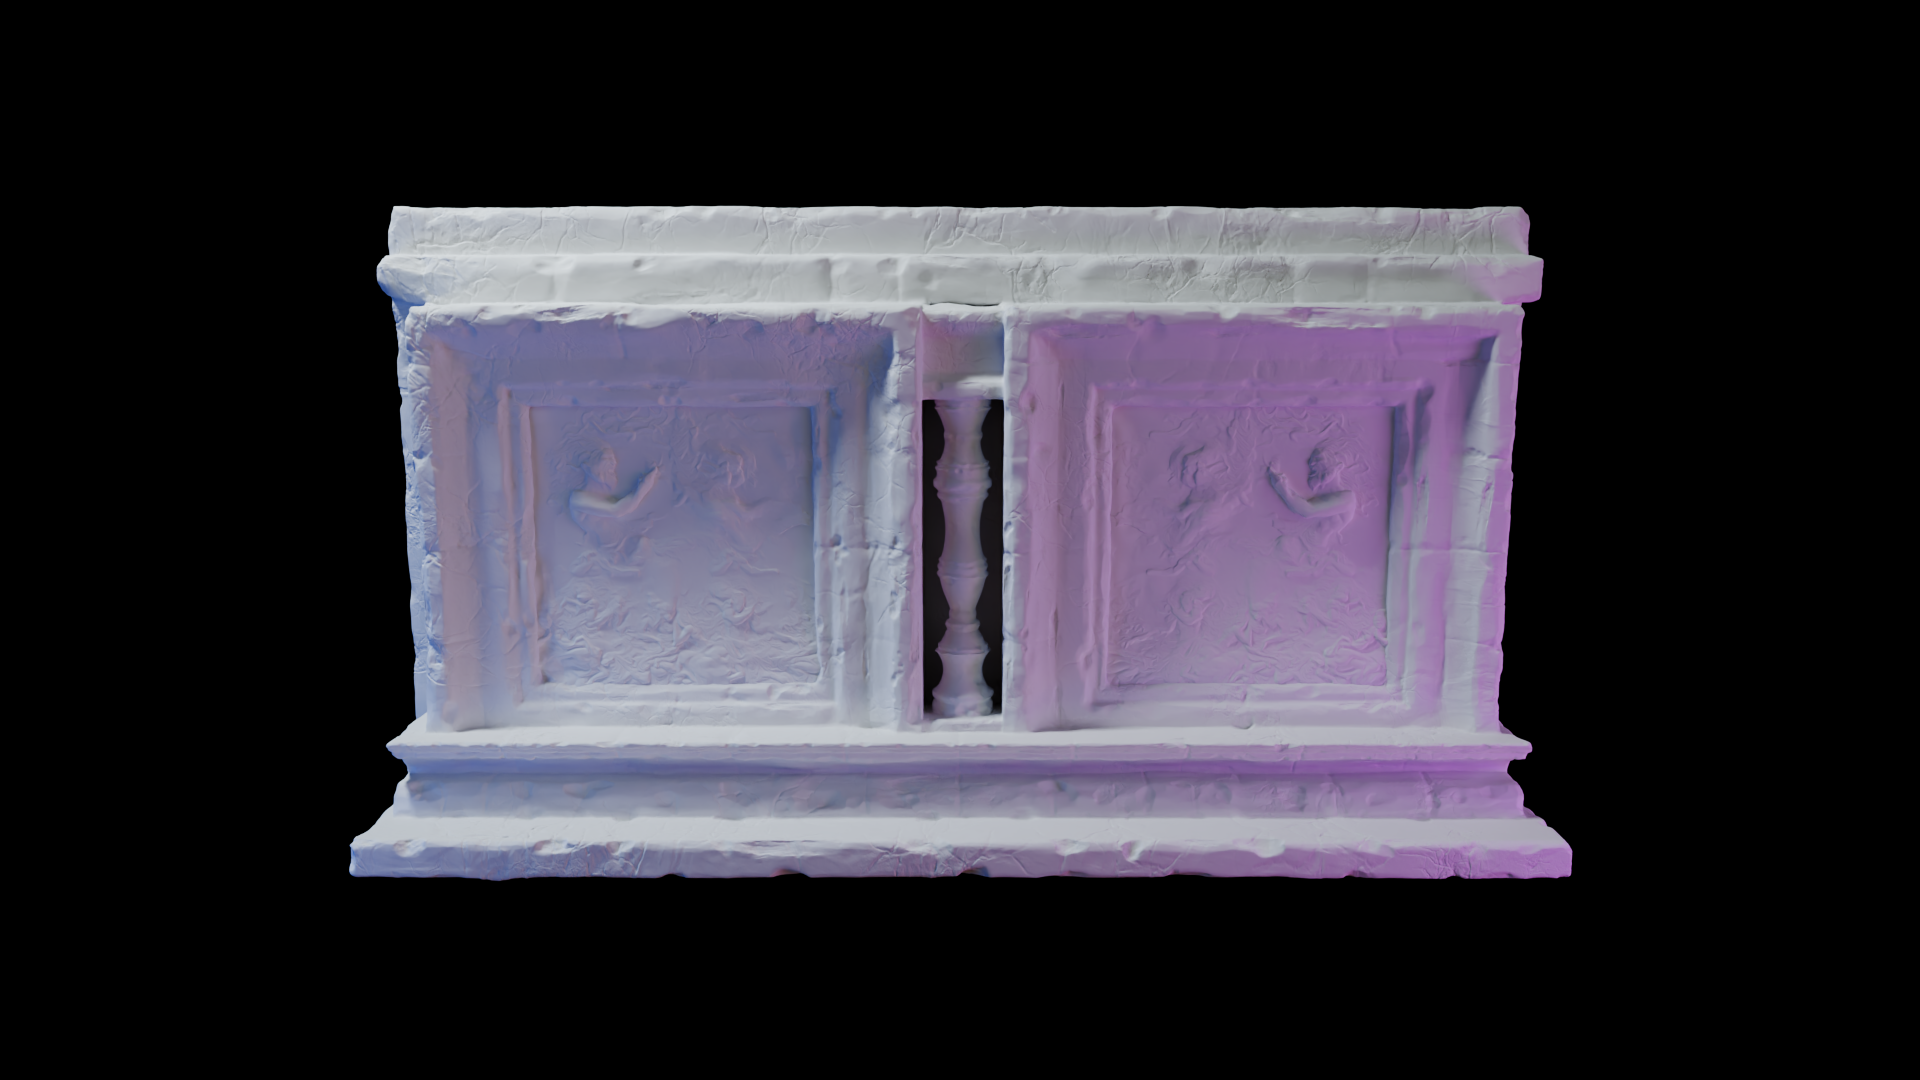

Creating Custom VDM (Vector Displacement Mapping) Brushes from Meshes in Blender
Baking VDM Brushes

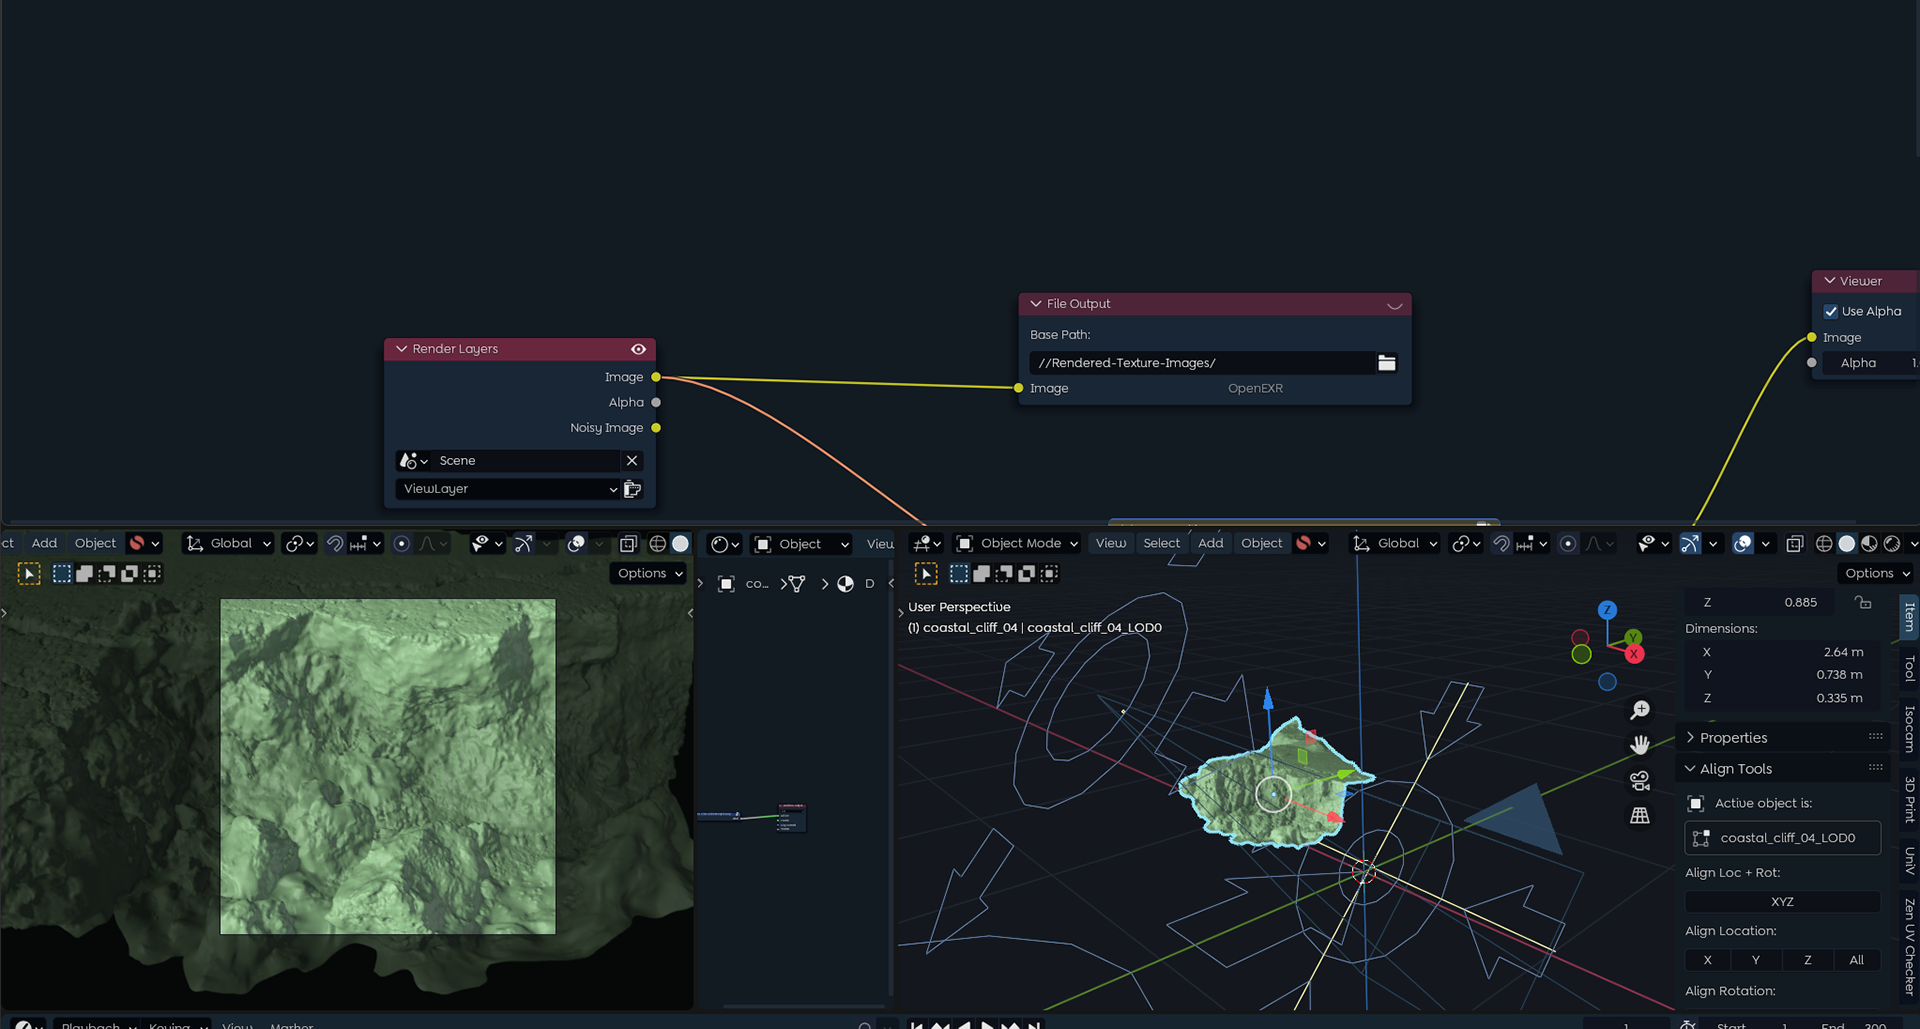
Extracting Depth Maps (AKA Height Maps) from Images and Objects


Driving Displacement Modifiers with Depth Maps
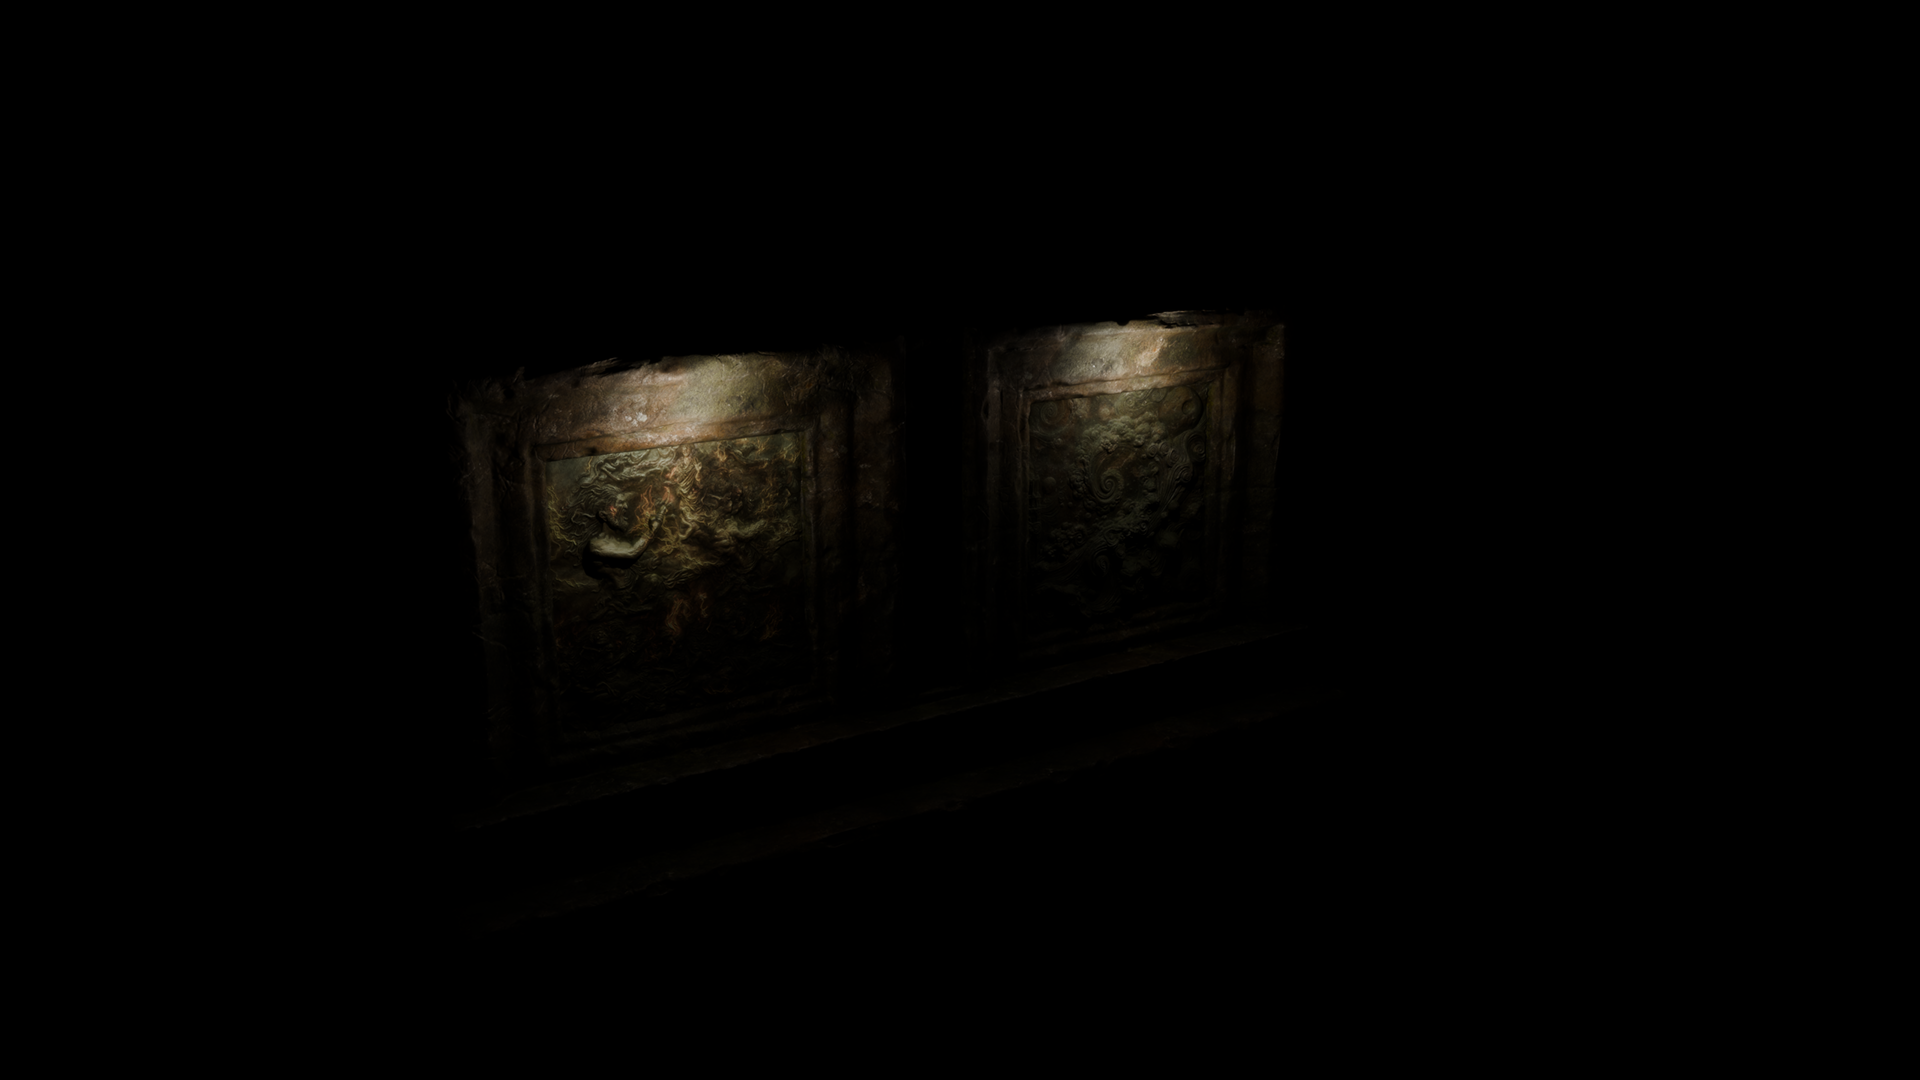
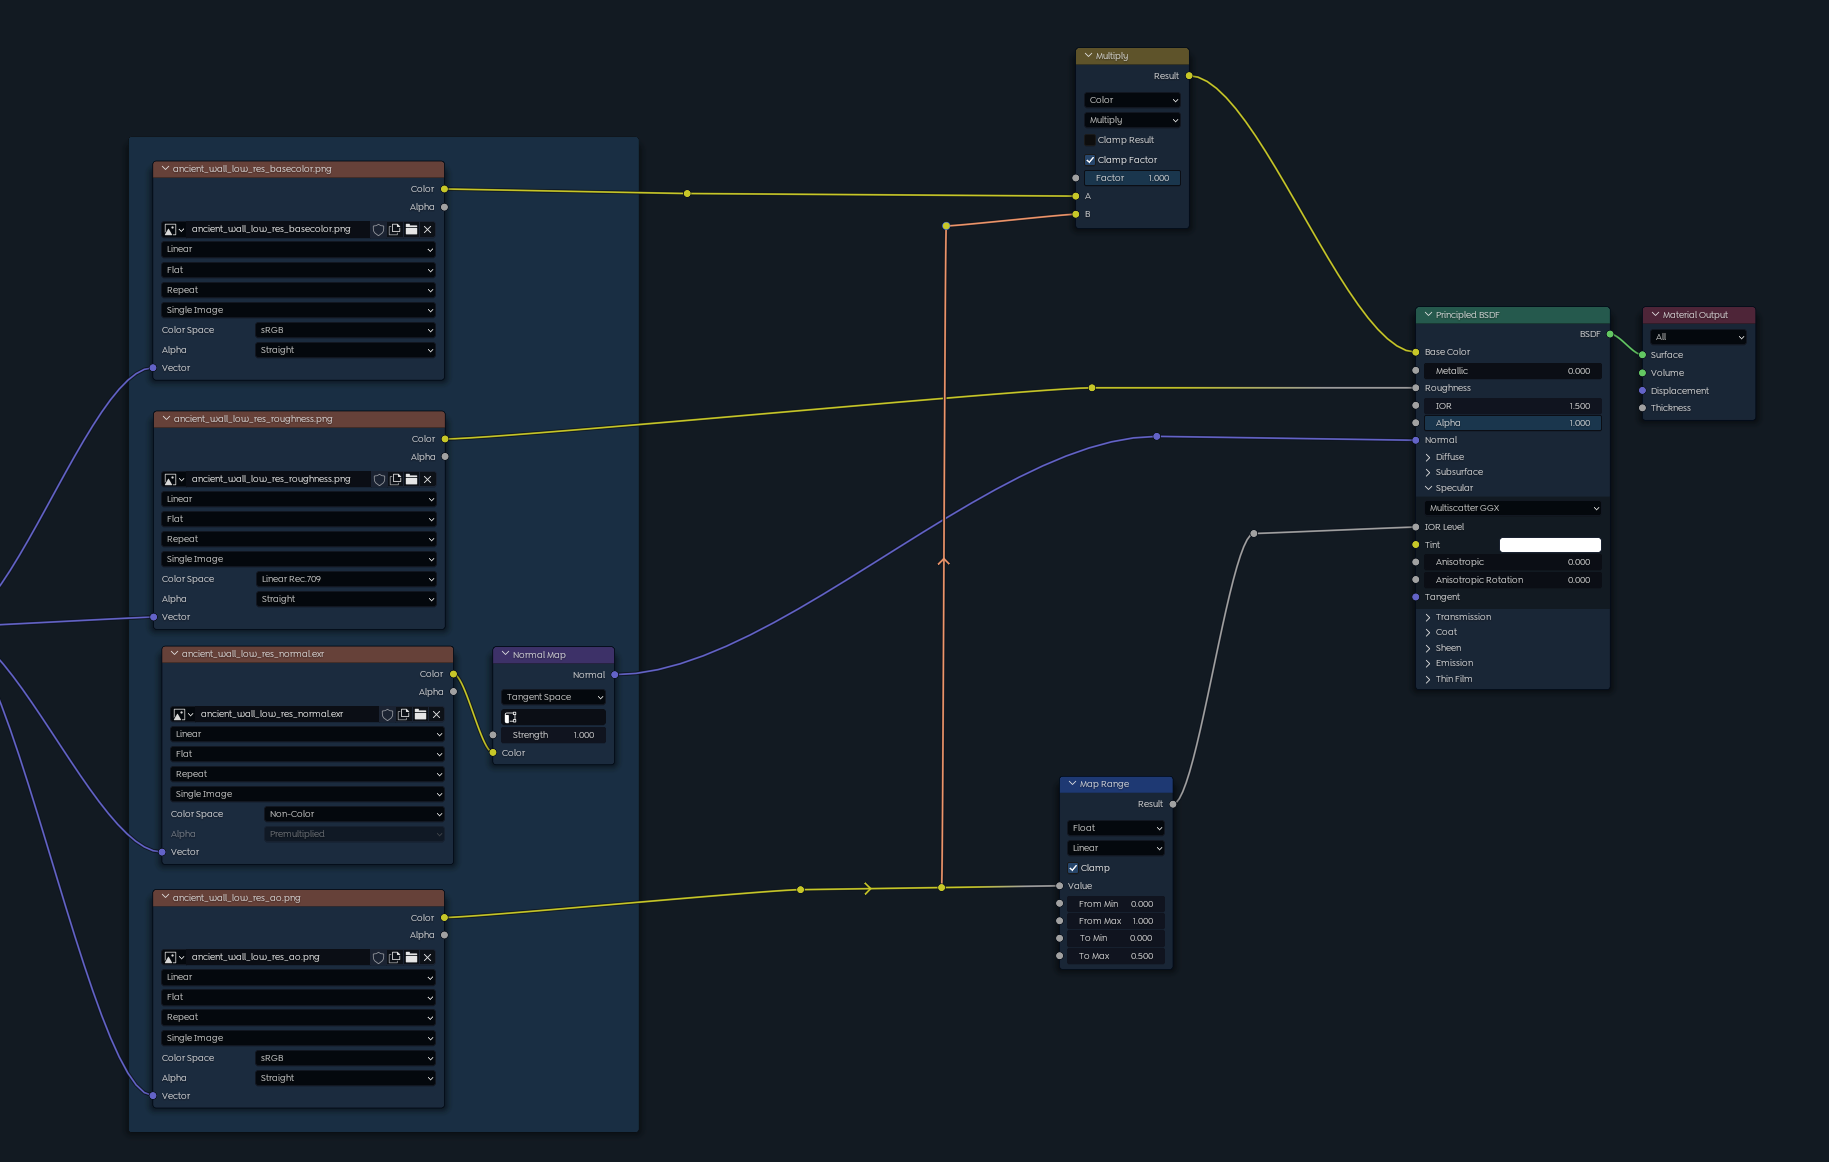
Texturing PBR Materials for the High-Poly Asset
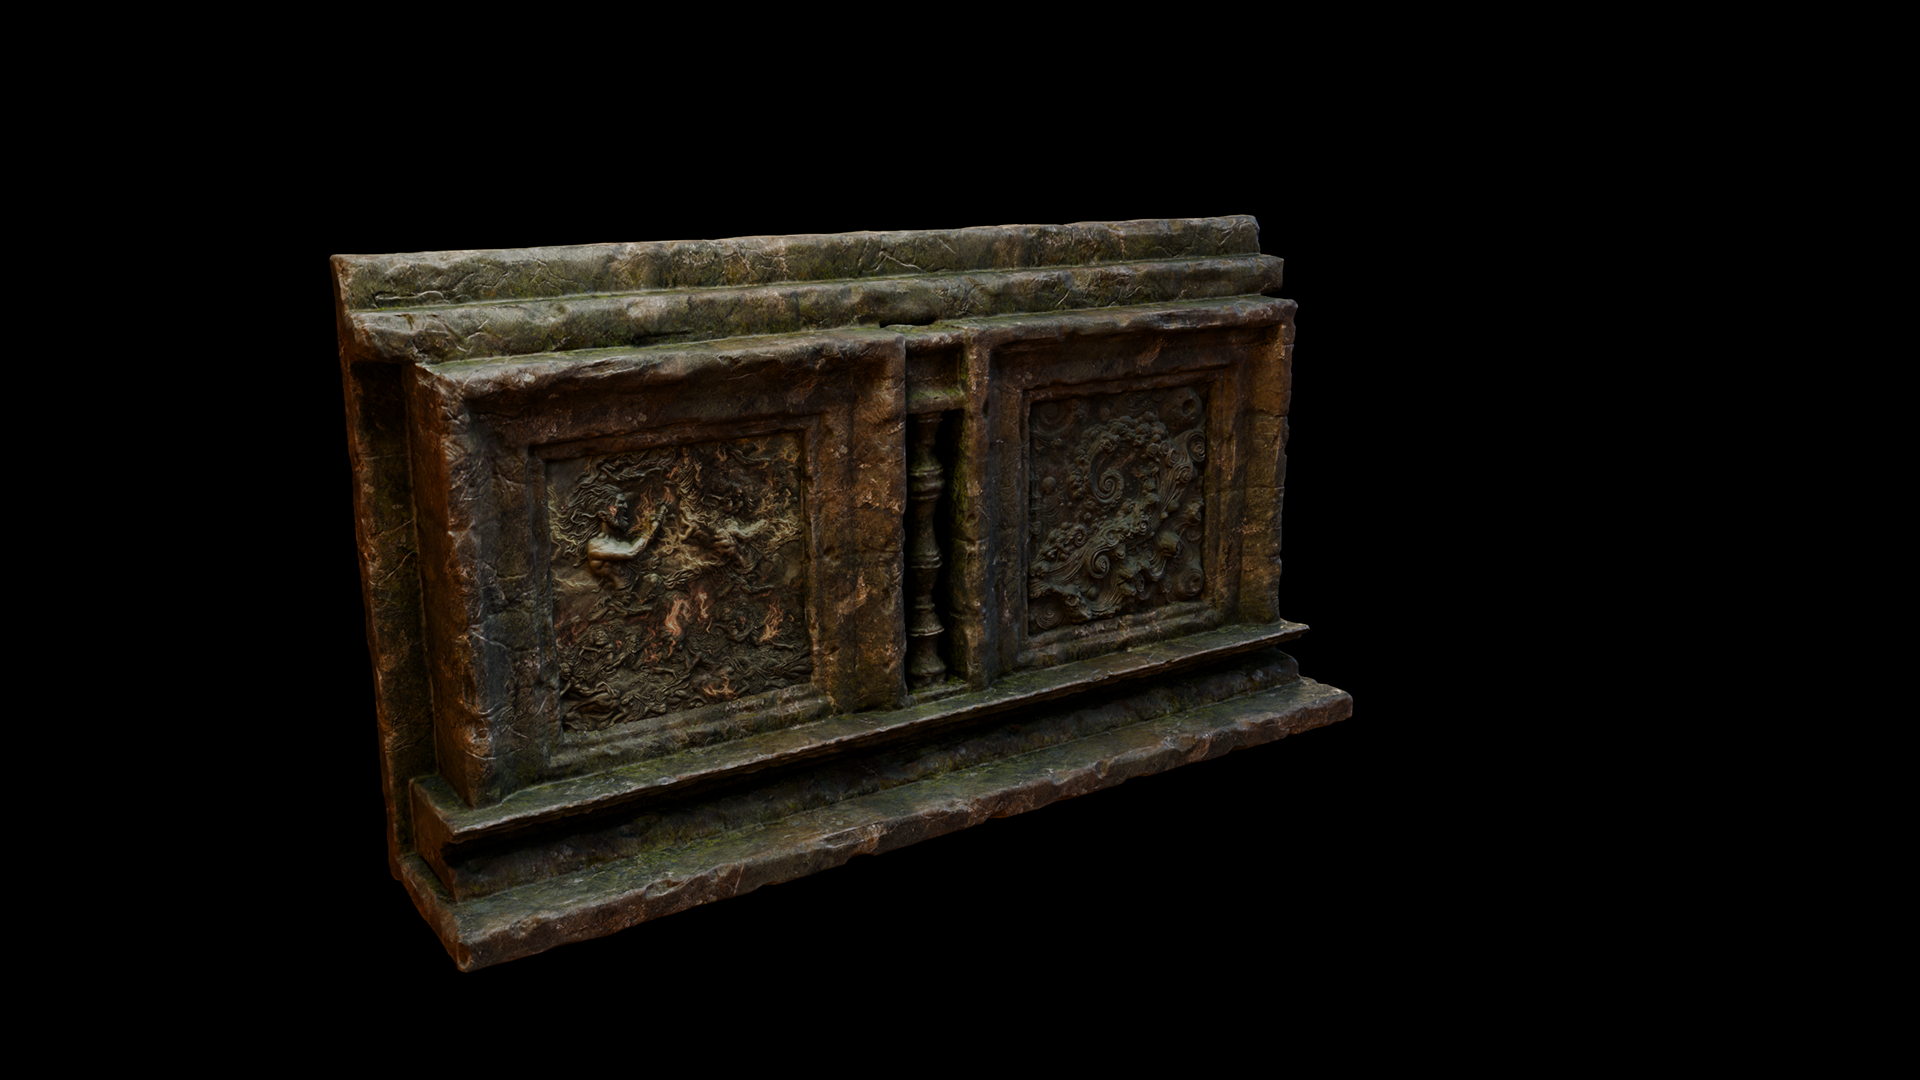
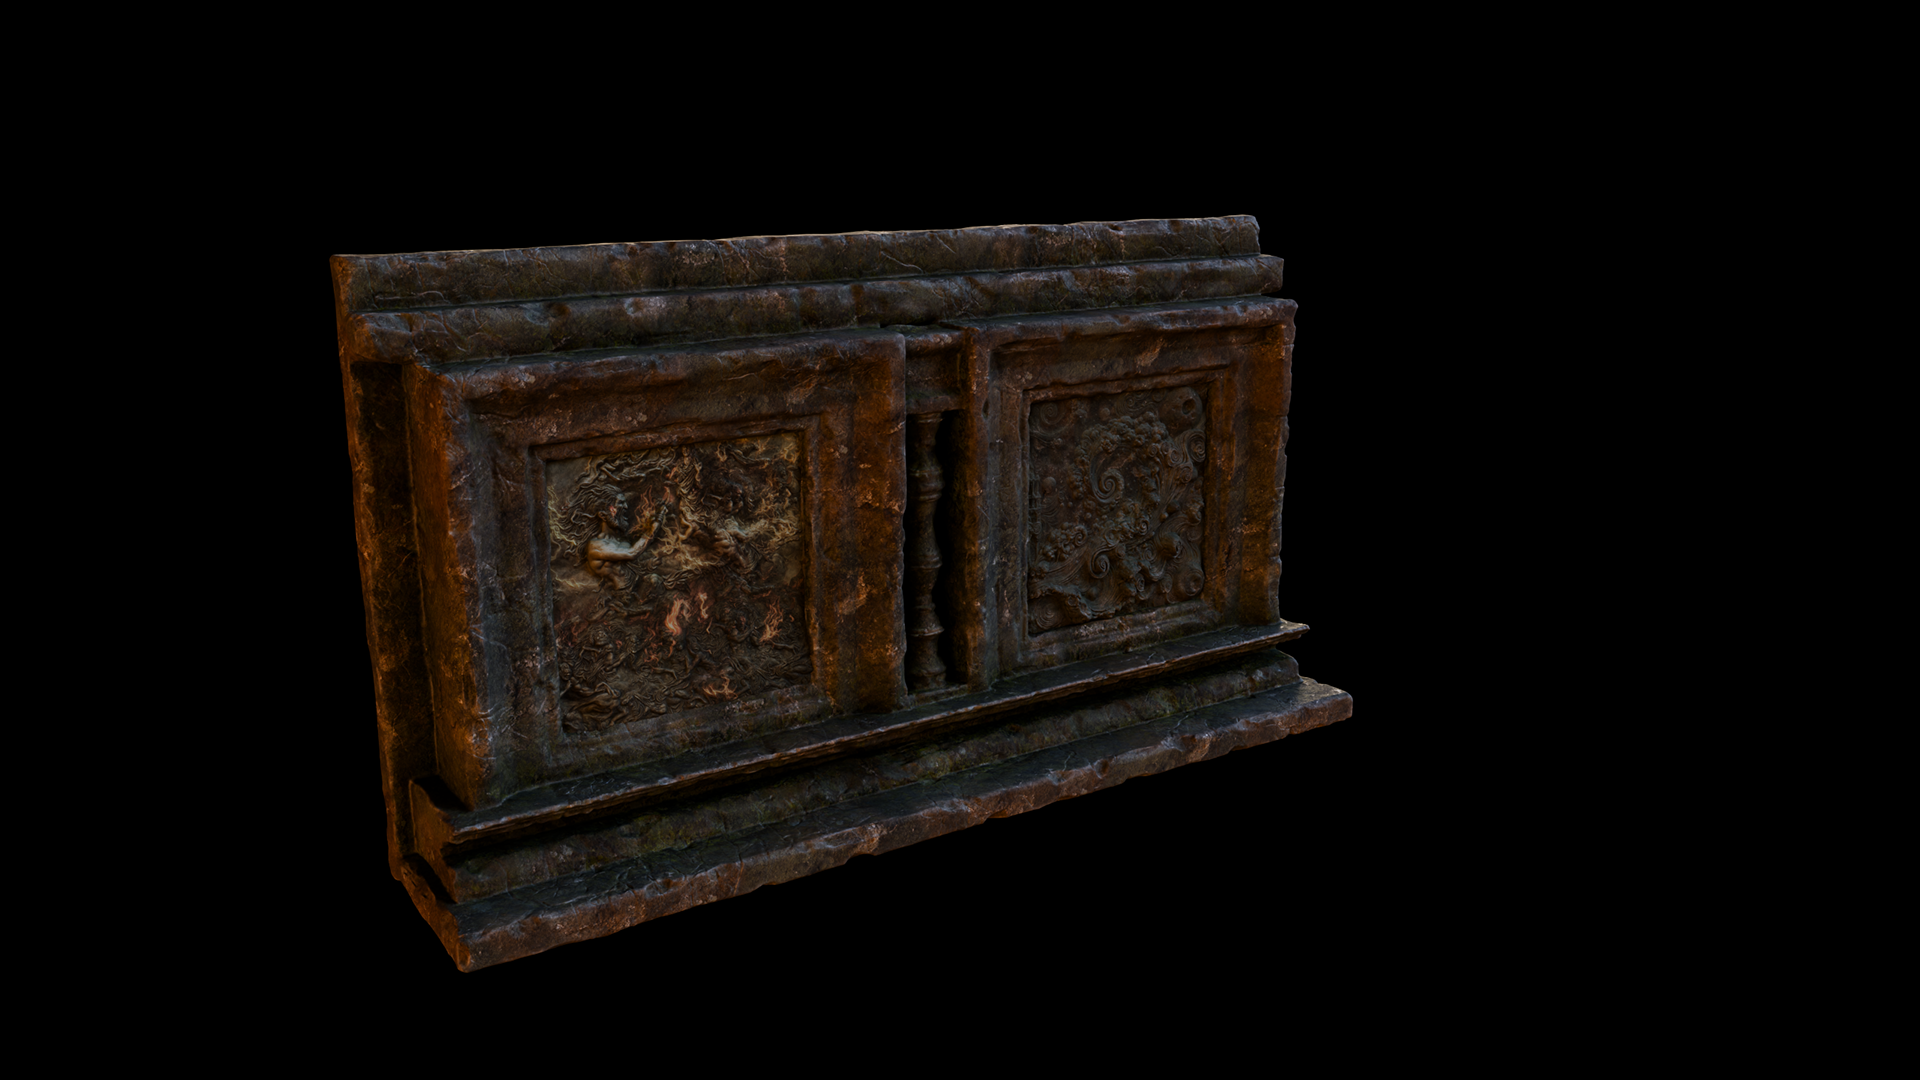
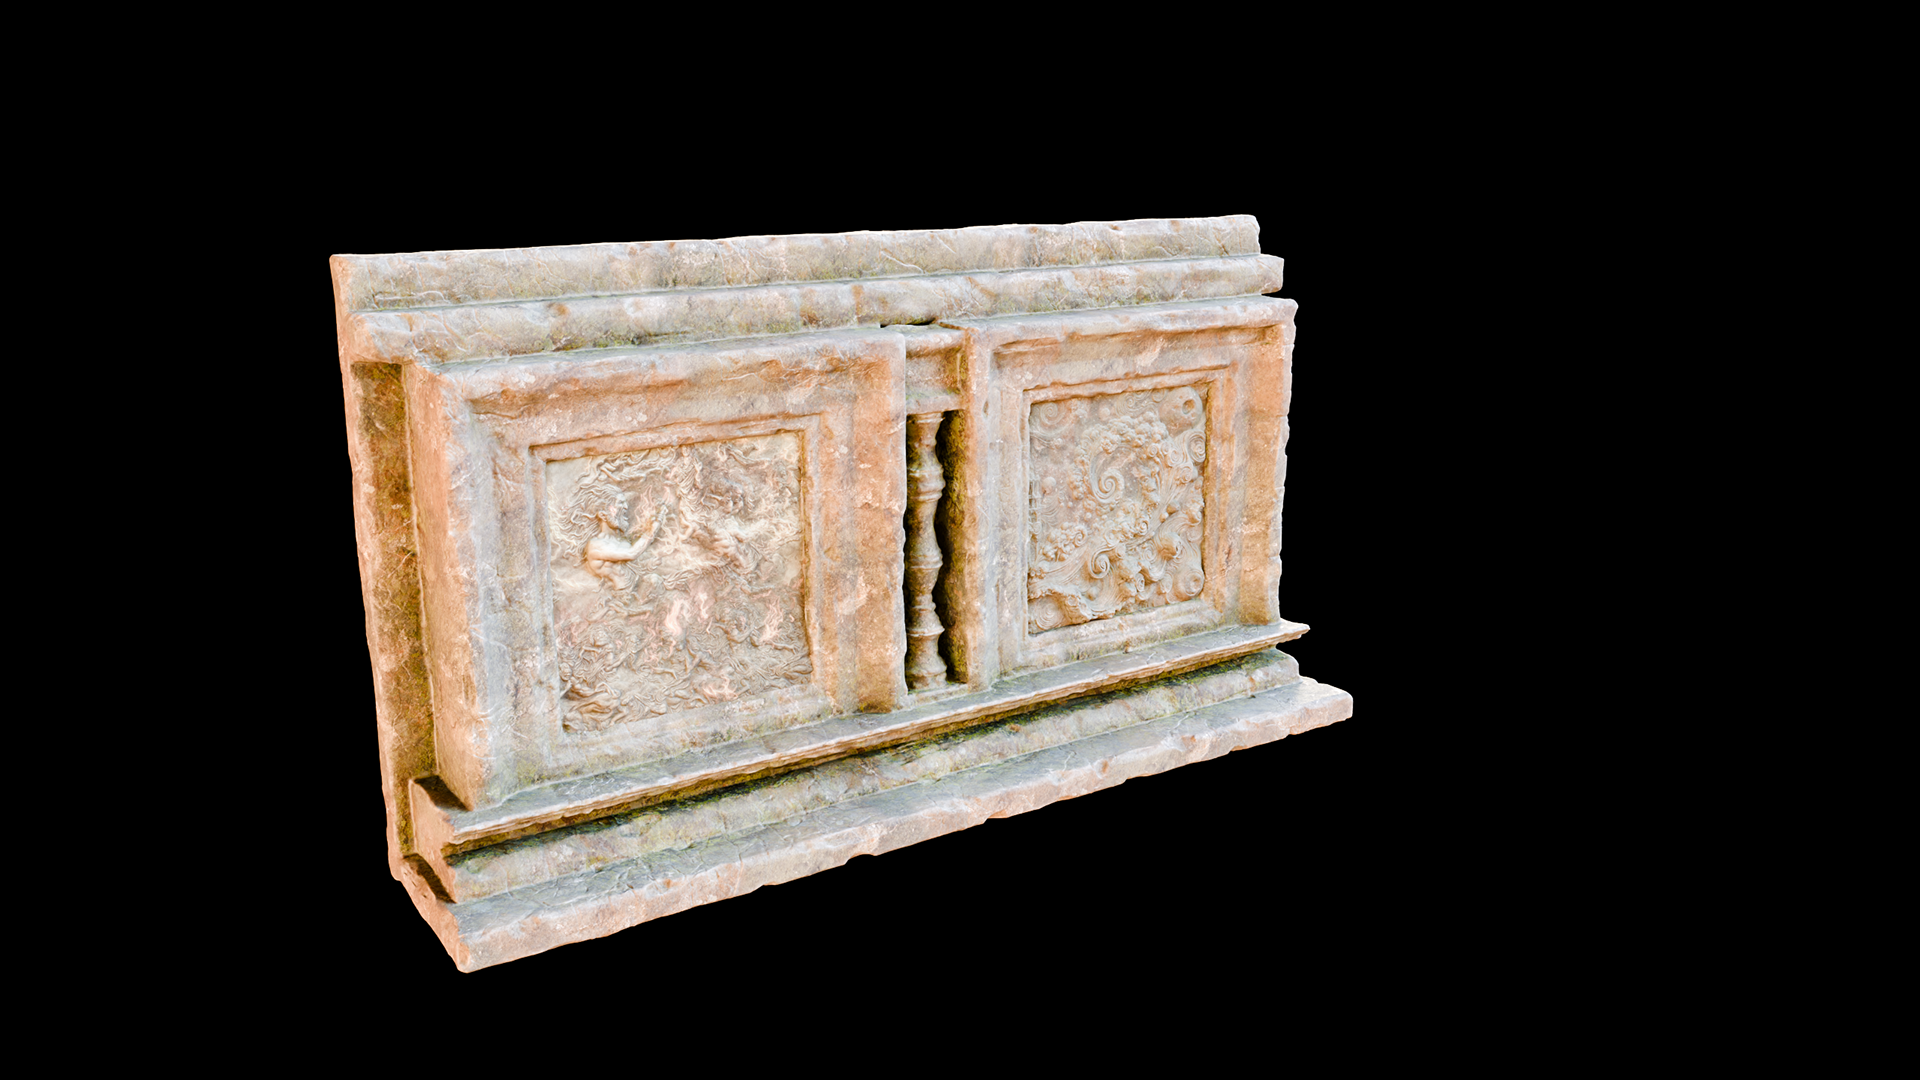
The focus here was on creating PBR Materials that gave the wall a realistic mossy stone shader -- using a mix of procedural and image-based techniques.


I layered a number of shaders to generate base surface texture, edge-detection-based coloring, ambient-occlusion-based coloring and more -- and then built several different lighting setups to make sure the appearance held up under a wide range of lighting conditions.


Optimizing the Asset for Game Engines
✅ Retopology and Creating A Mesh With Drastically Fewer Polygons
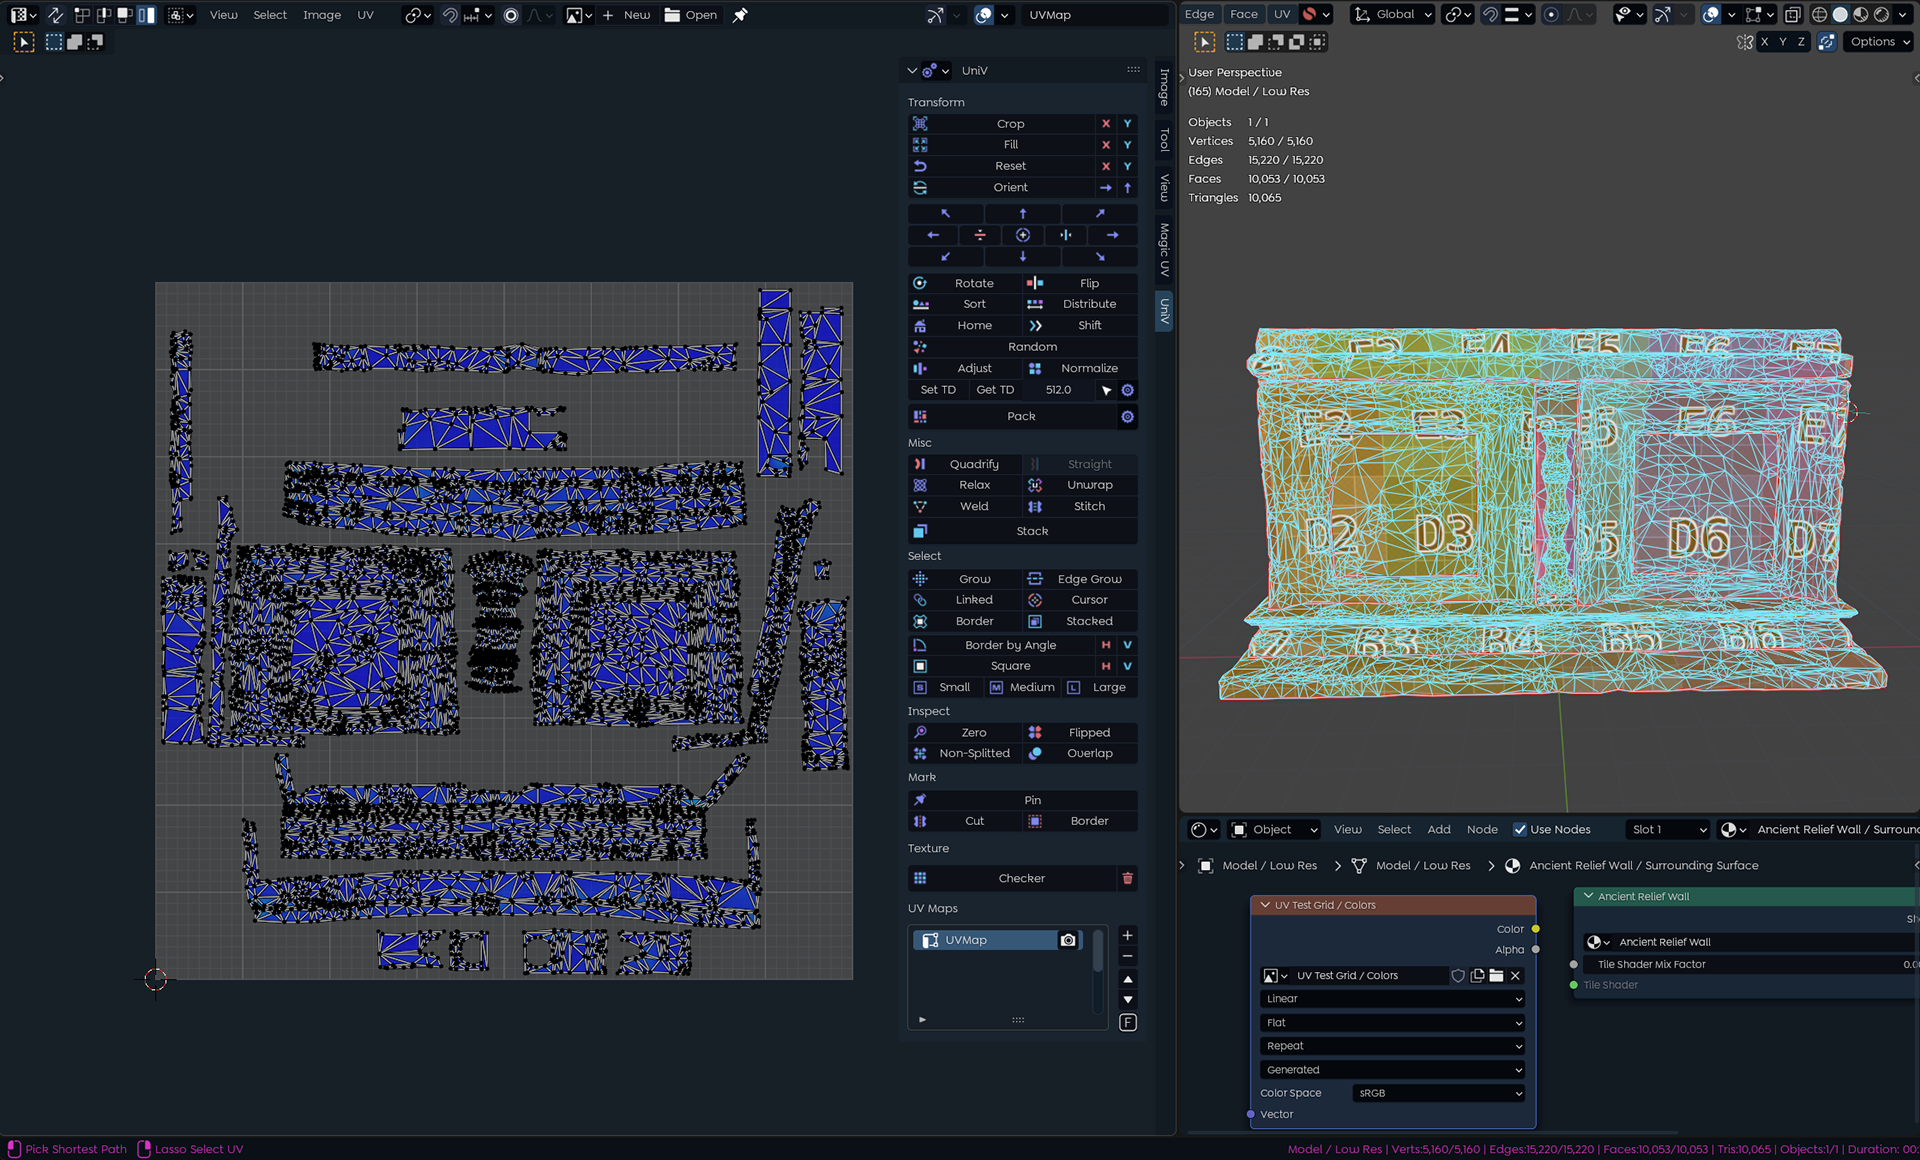
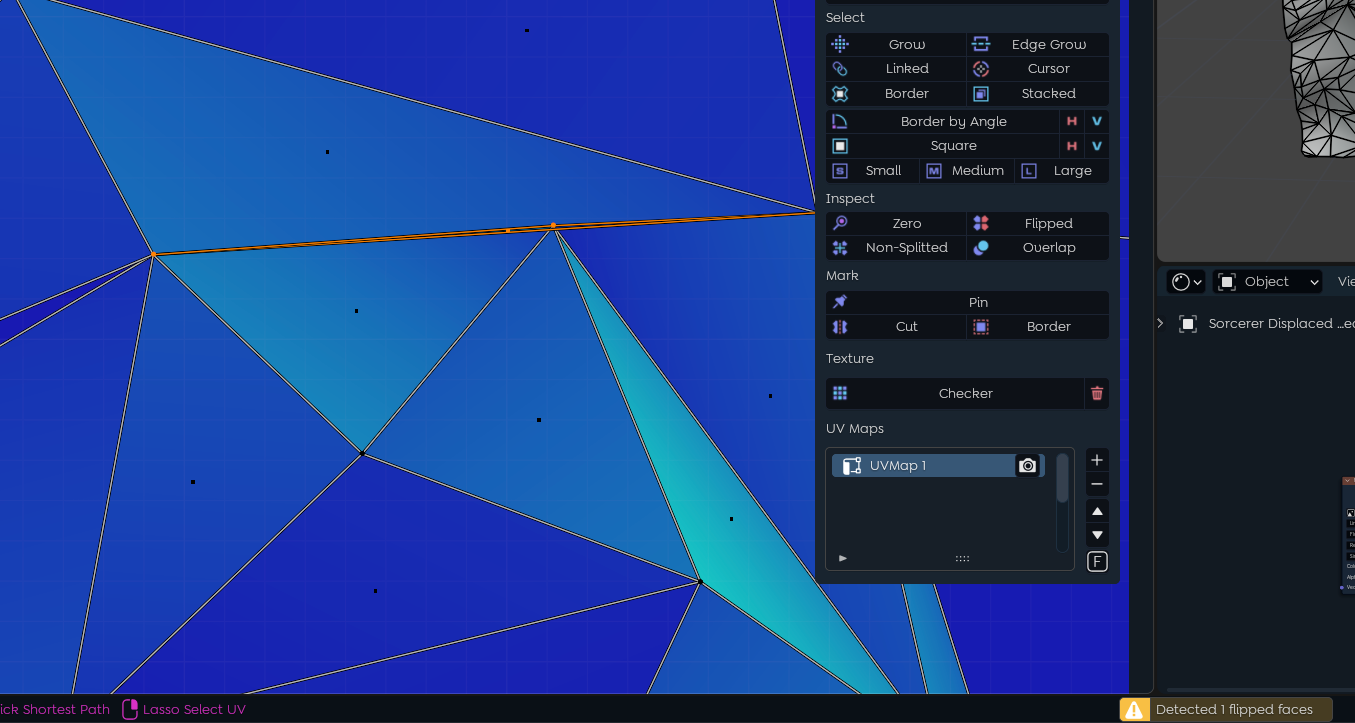
✅ UV Unwrapping The Lower-poly Mesh

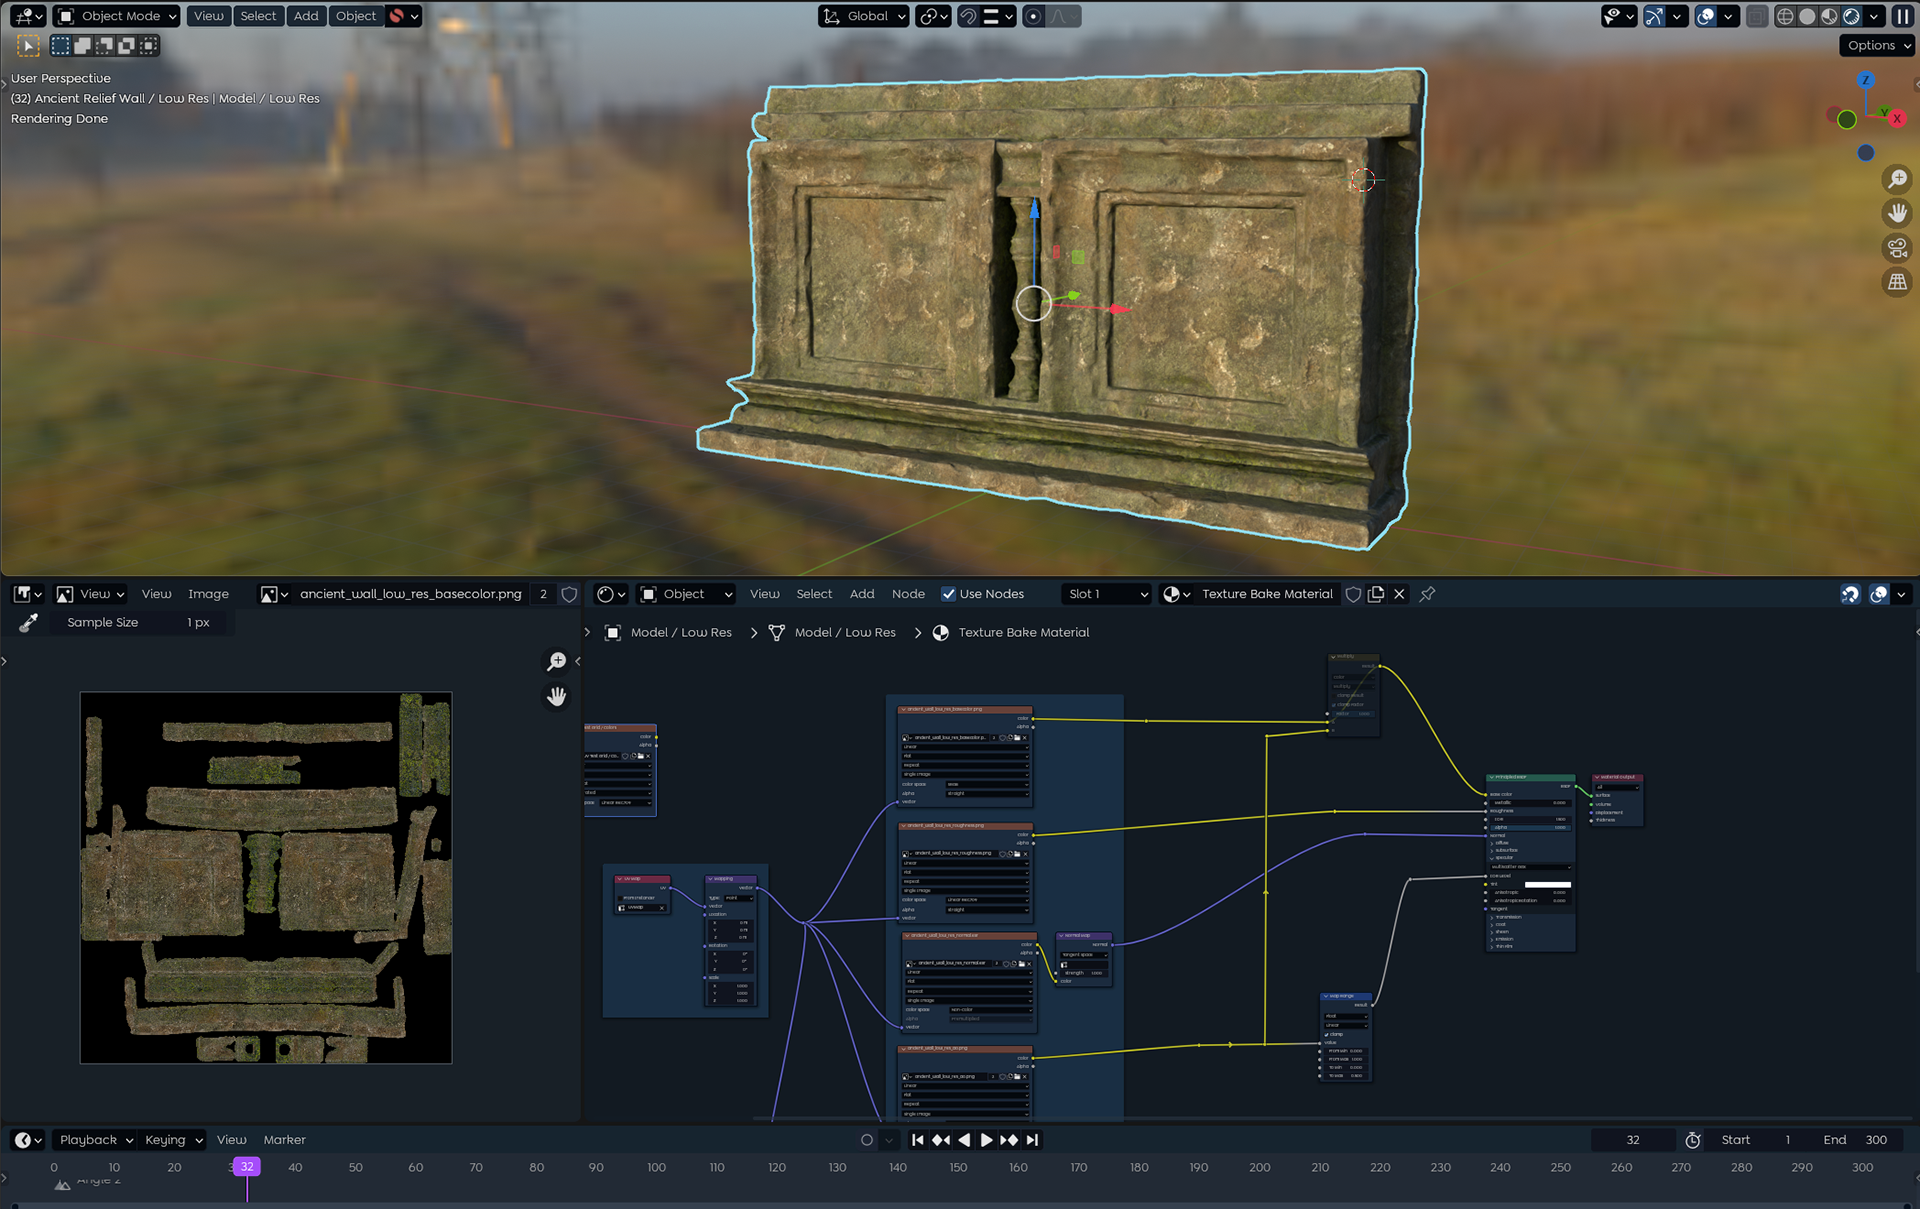
Texture Baking
The Main Goal: Transferring details from the original high-res object to our new low-res object
✅ Baking Procedural Material Calculations to Image Textures
Exporting to Godot